Create your own antidetect honeypot token
Instructions for creating a unique token with the functionality of turning on and off the Honeypot mode, which provides protection from detection by Honeypot detectors.
Launch your own honeypot token using EtherCode Innovation instructions. We are a team of crypto enthusiasts and developers involved in research in this area. In this instruction, we will tell you how to create and issue your own antidetect scam token (not scanned by Honeypot detectors) on the decentralized exchange Uniswap or PancakeSwap on the Ethereum Mainnet/Base Mainnet or Binance Smart Chain.
Part 1. Using Metamask and Remix Ethereum to create a honeypot token
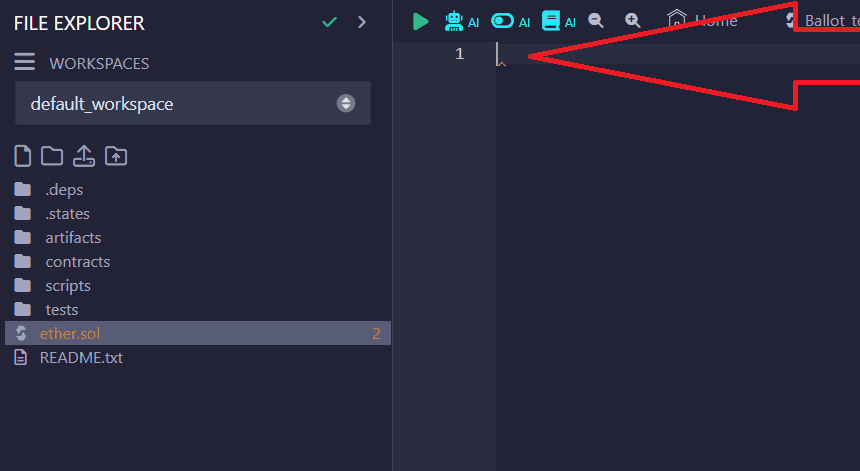
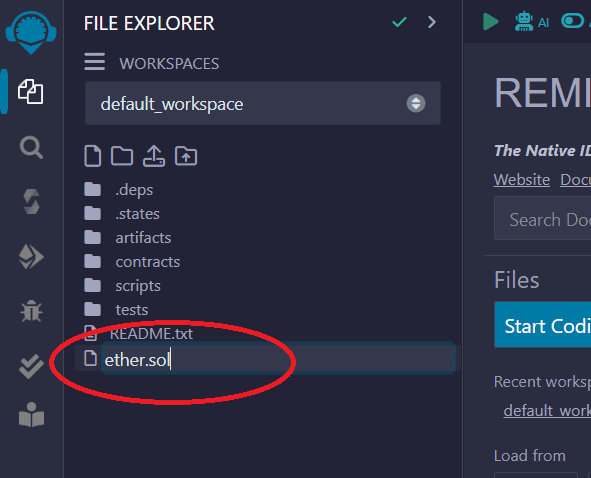
Name the file any name, be sure to add .sol at the end, example:
ether.sol

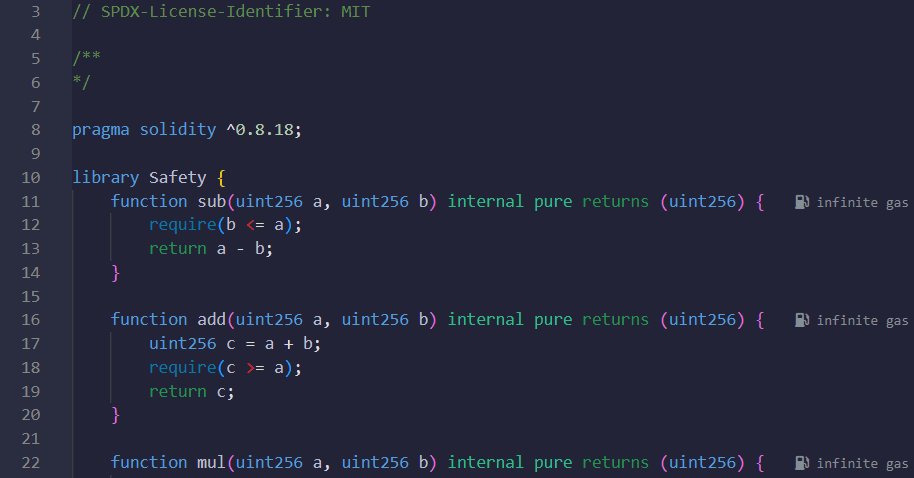
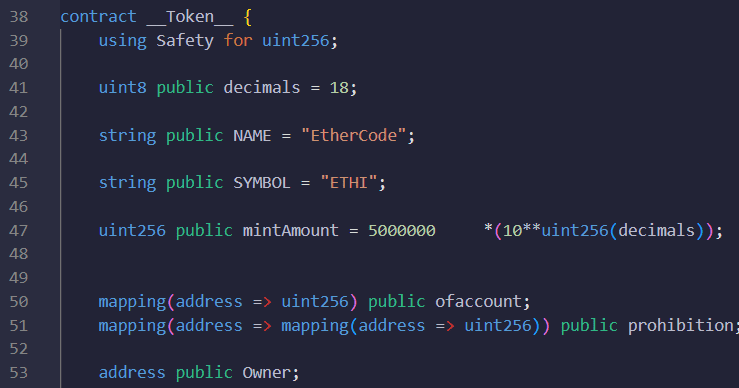
4) Scroll the smart contract code in Remix Ethereum to the 38 line, as shown below:

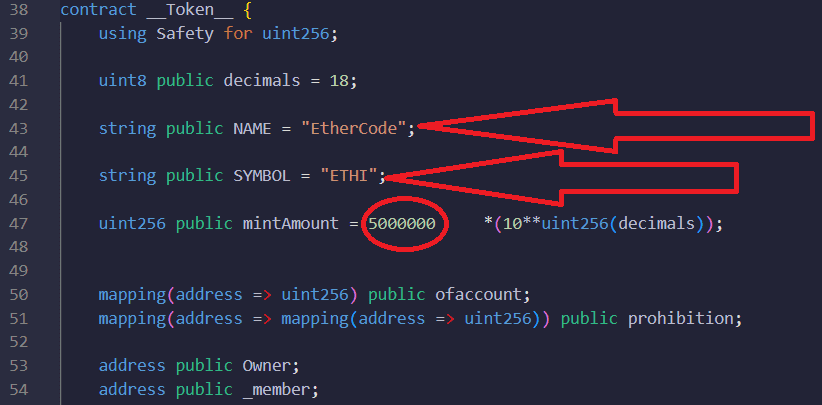
5) Enter the desired parameters of the token to be created:
"NAME" - full name of the token
"SYMBOL" - shortened token name
"mintAmount" – desired number of issued tokens
In the example below we are issuing 5 million ETHI token.

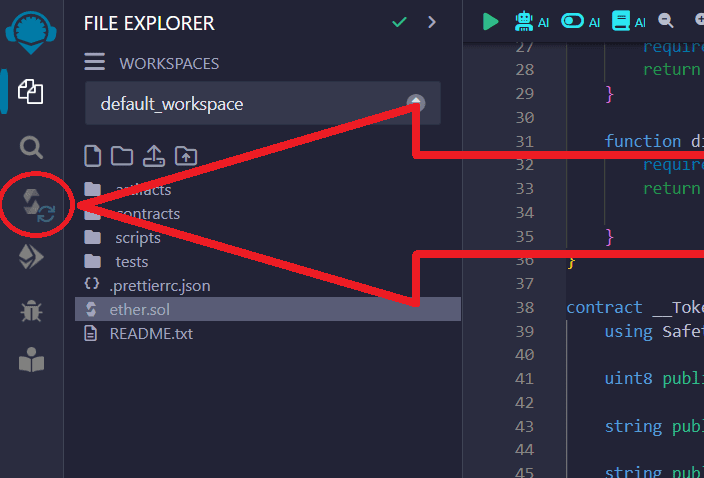
6) Go to the compiler menu.
Click on the icon on the left in the panel:

7) Next you need to select the compiler version.
Select version 0.8.18...
After that, click "Compile":

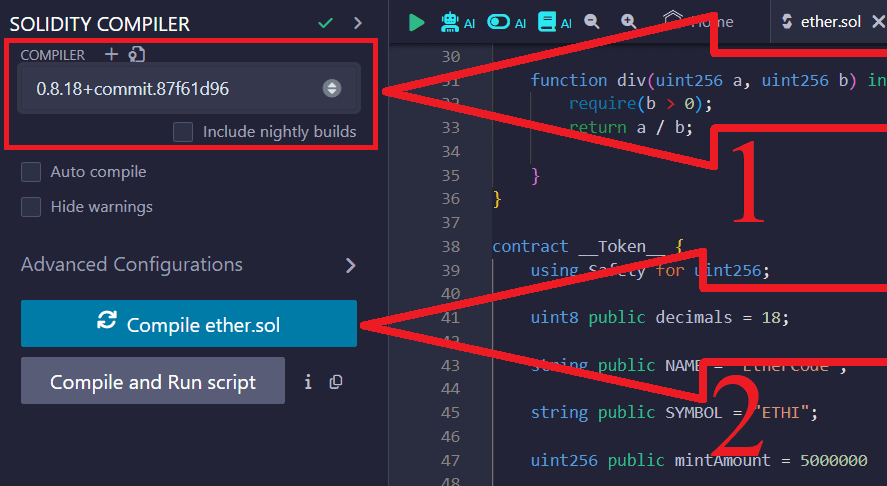
8) After successfully compiling the code, click on the icon on the left as shown below:
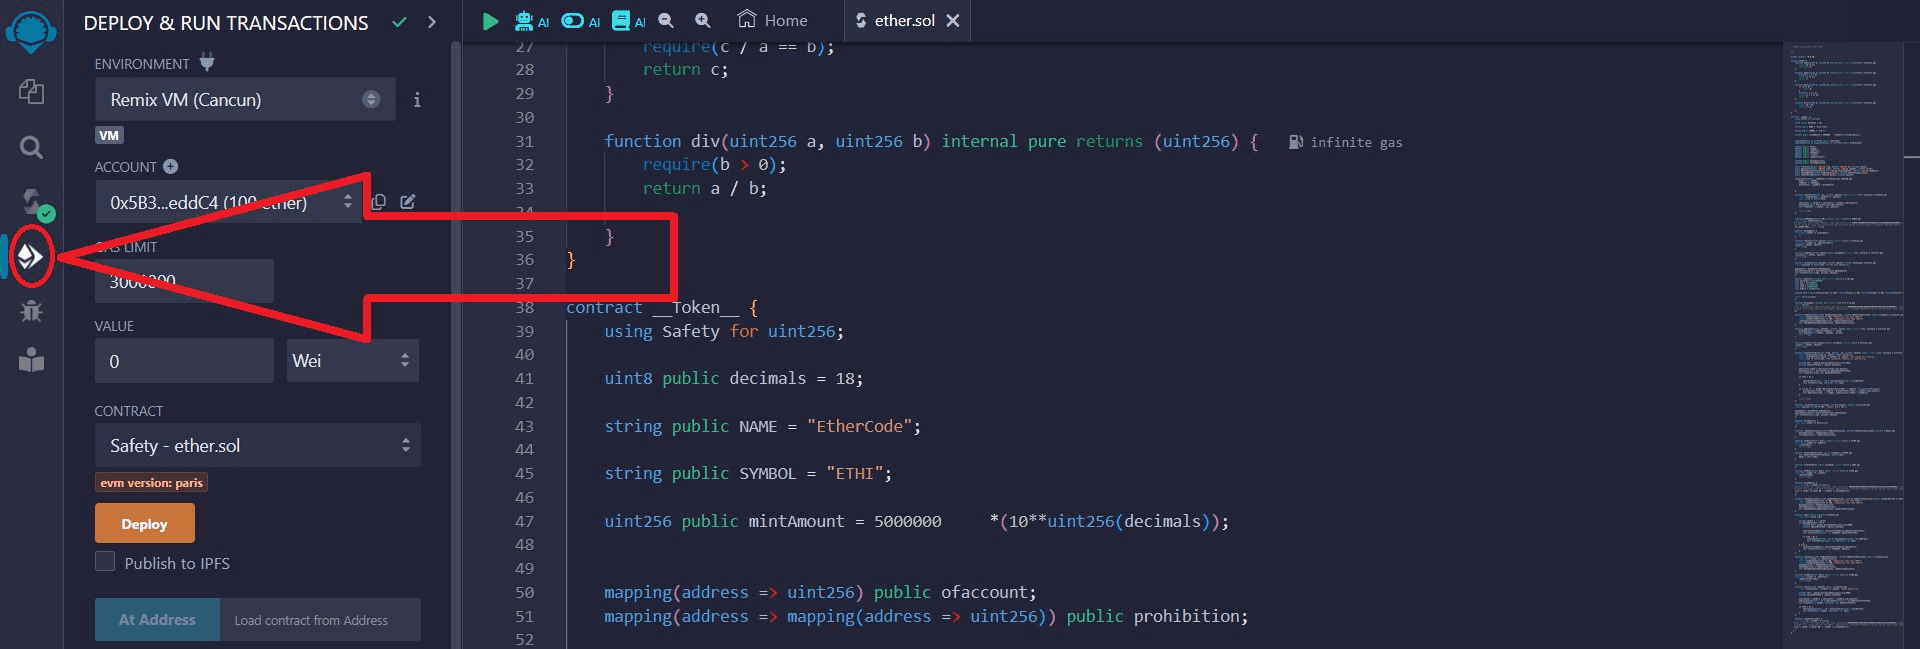
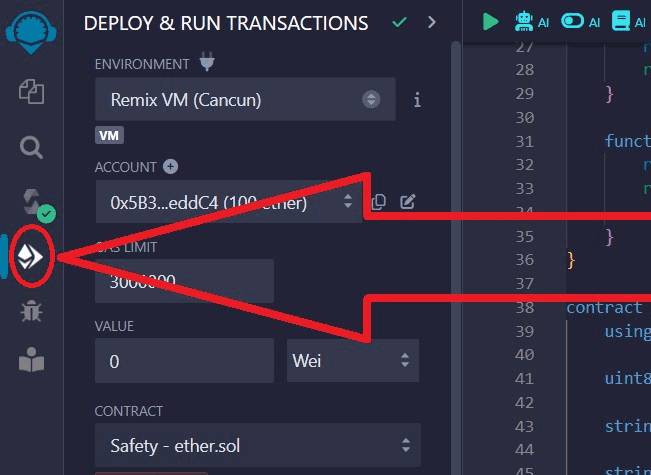
In the "Environment" drop-down list, select "Injected Provider – MetaMask" , since we use this wallet:

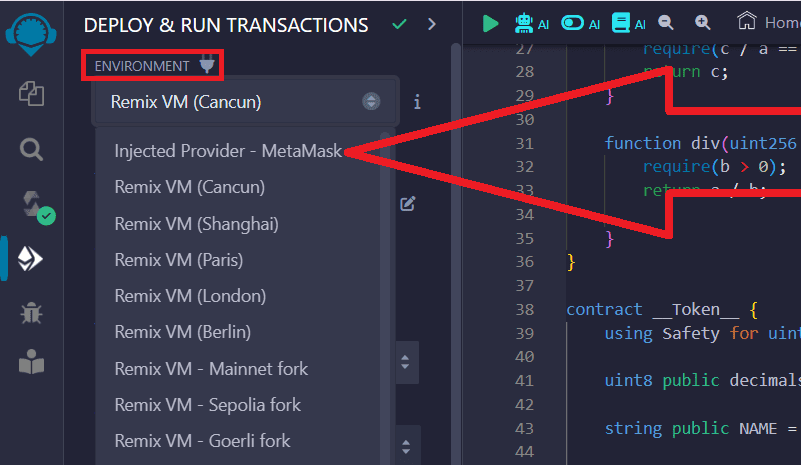
Set up the network in the Metamask wallet according to the desired network for issuing tokens. You can issue tokens on the Ethereum Mainnet, Binance Smart Chain, Base Mainnet and any others. We chose Binance Smart Chain because it has low commissions.
You can read the instructions for changing the network in the Metamask wallethere
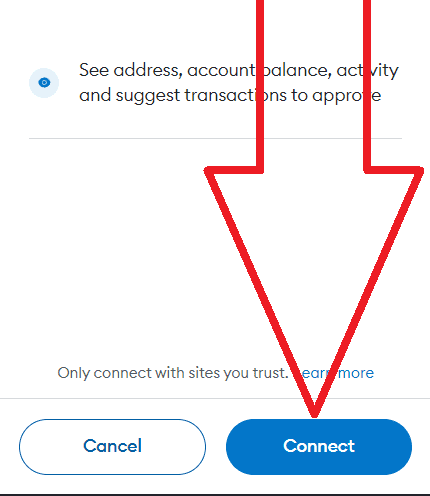
In the Metamask pop-up window, confirm connecting your wallet to the site:

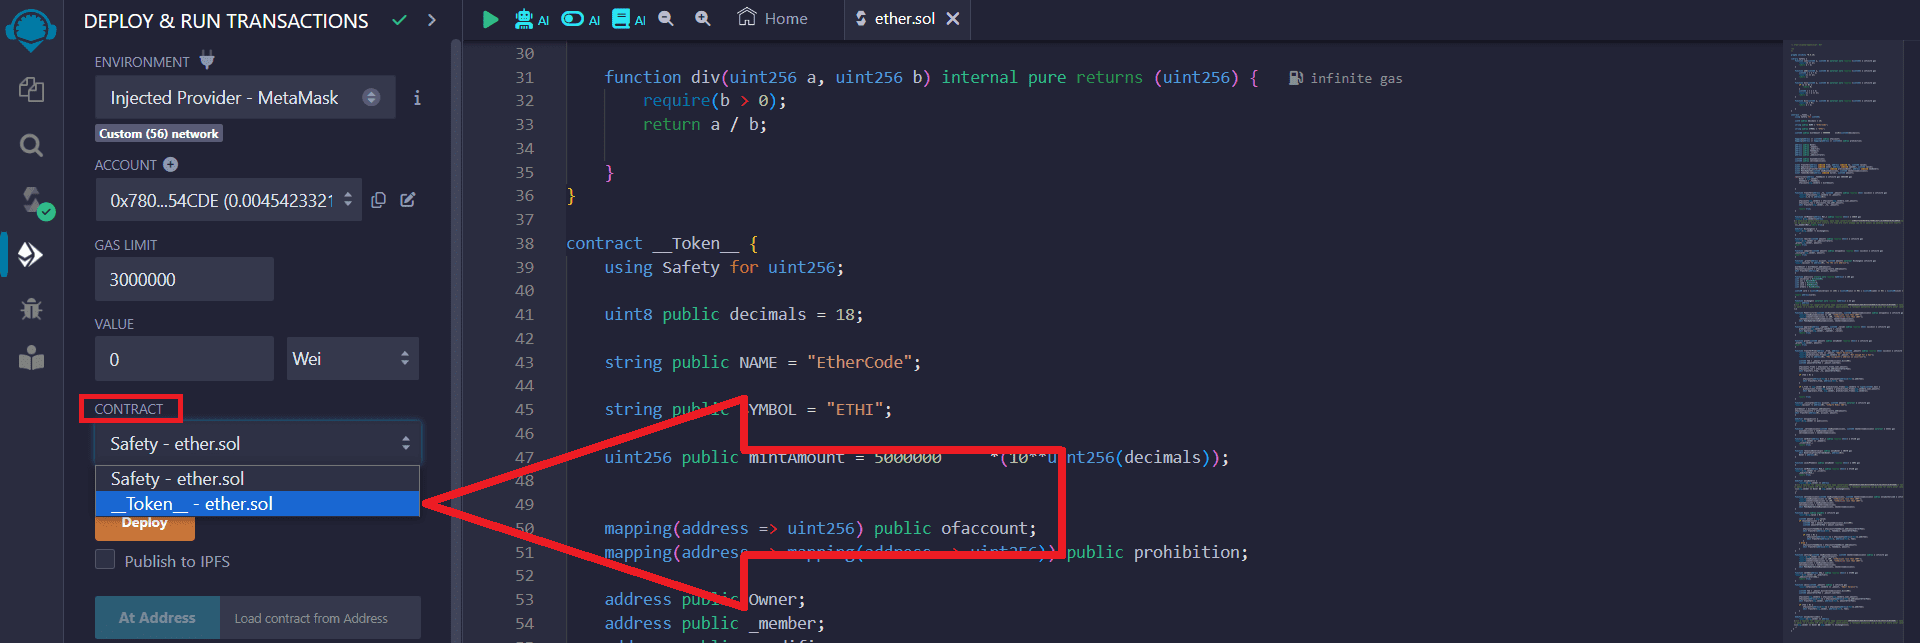
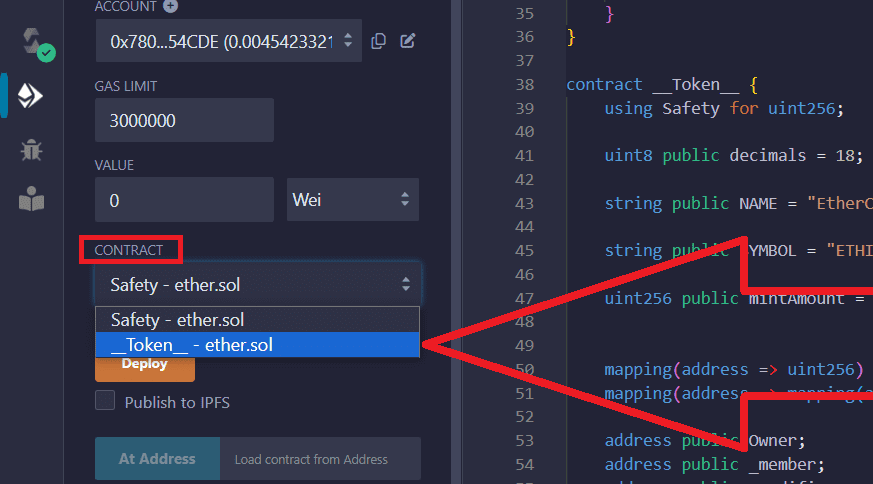
9) In the "Contract" section, select the contract __Token__ - the name of your file, as shown below:
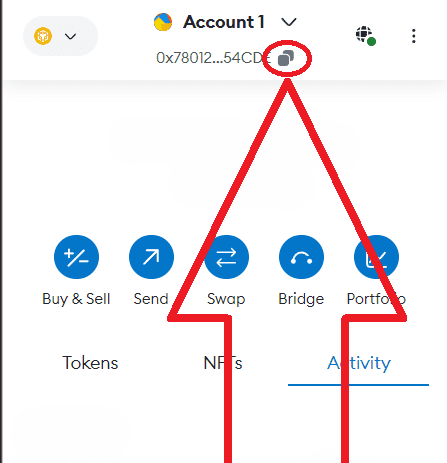
Return to Metamask, copy your wallet address:

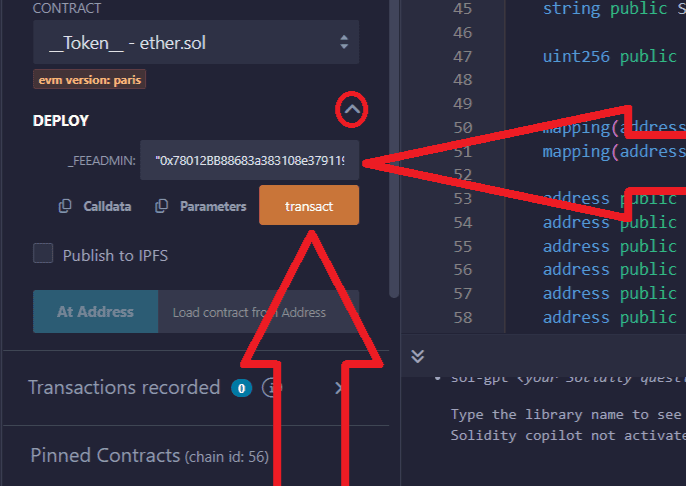
Paste your wallet address next to _FeeAdmin and click the "Transact" button:

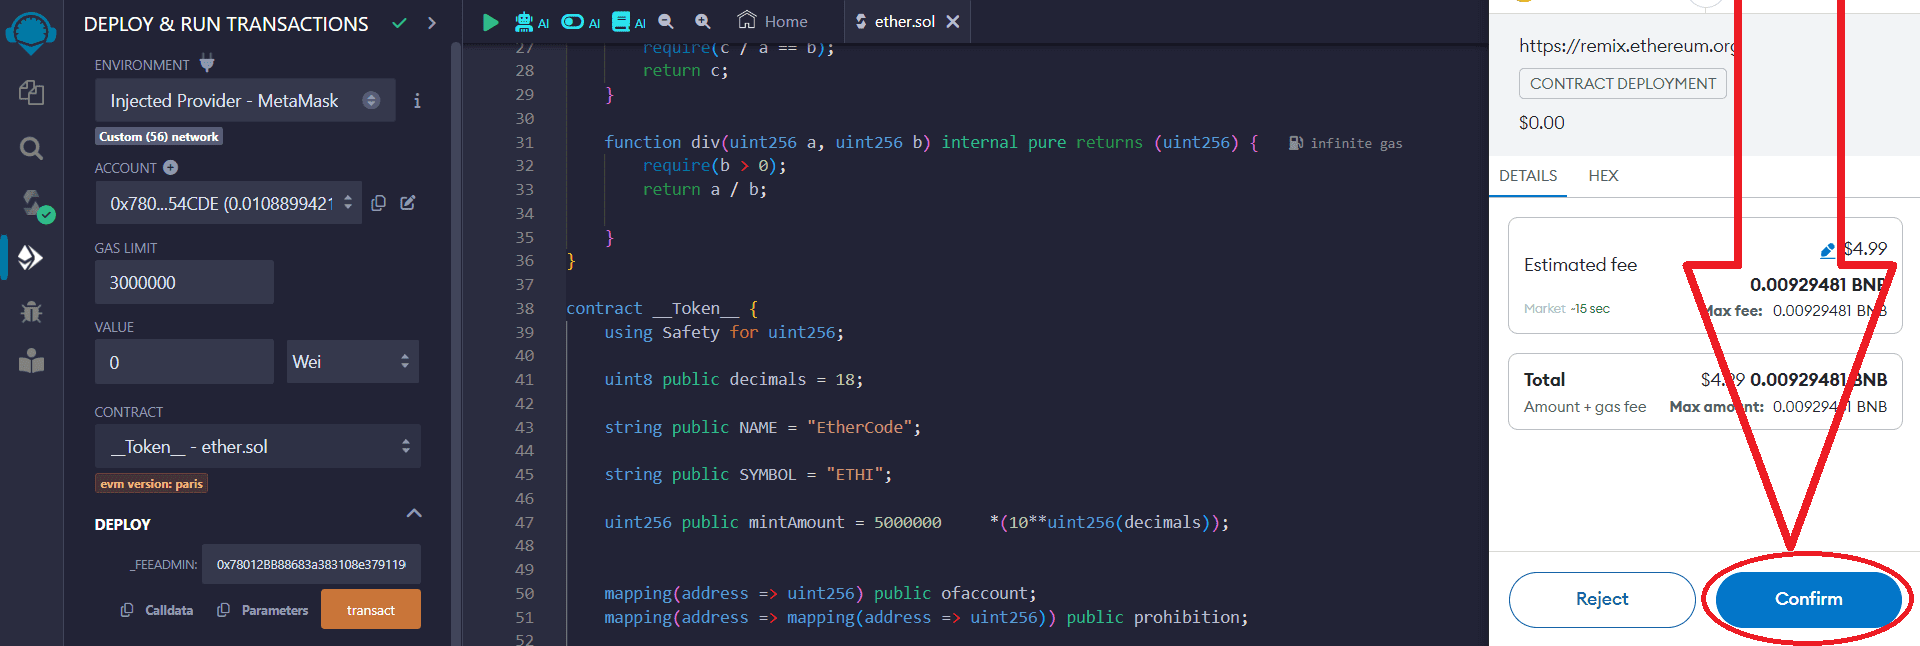
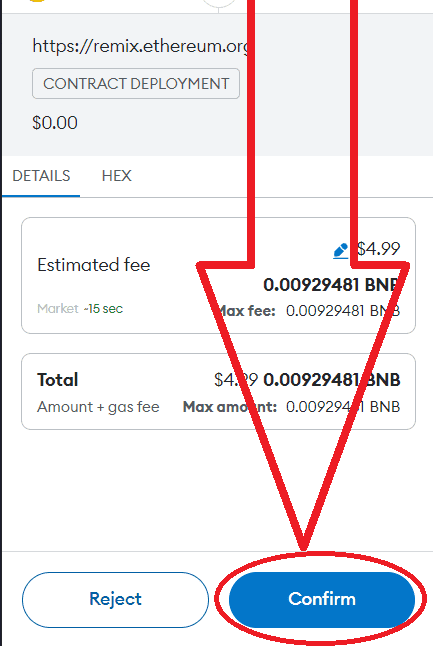
Confirm the transaction in the Metamask pop-up window:
10) Great, your token has been created. Now you can add it to your wallet.
To do this, go to the Metamask wallet:
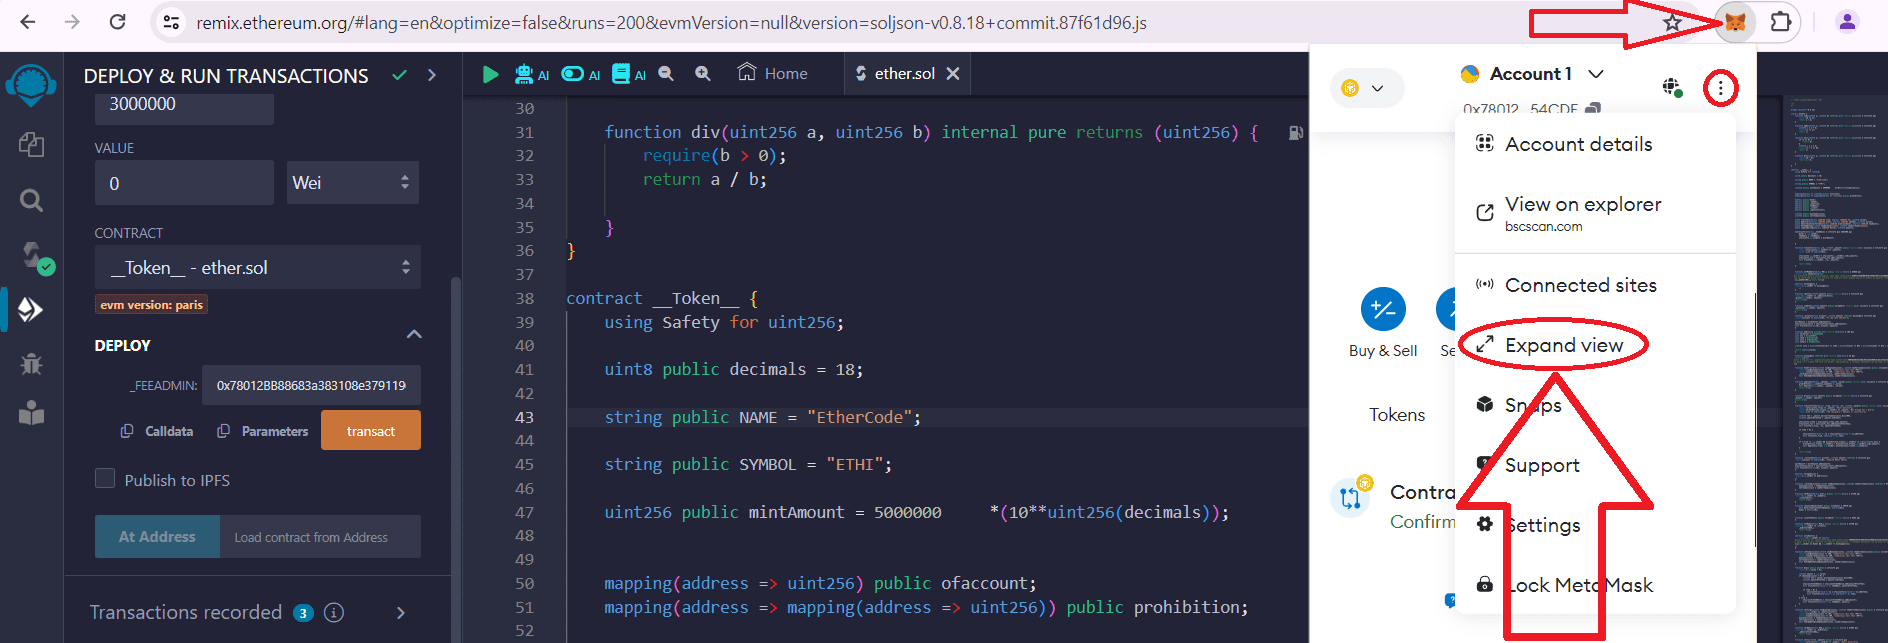
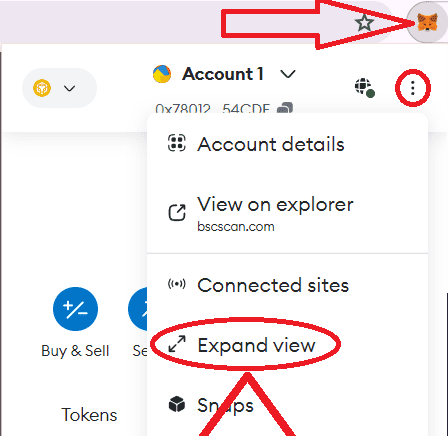
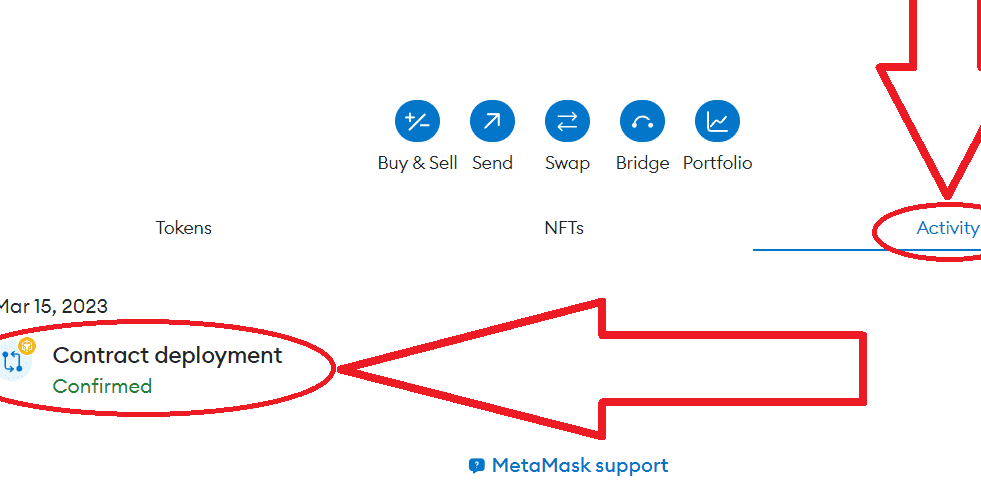
Next, go to the "Activity" section and click "Contract deployment":

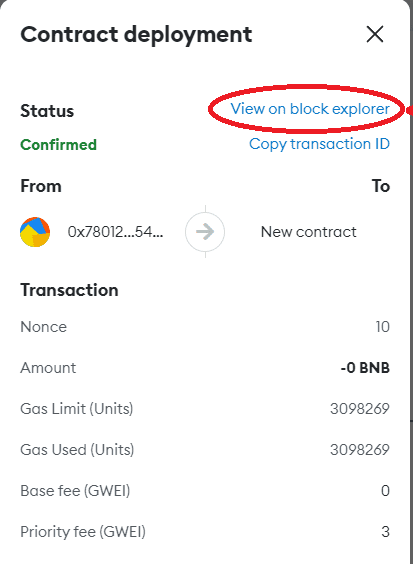
Click "View on block explorer":

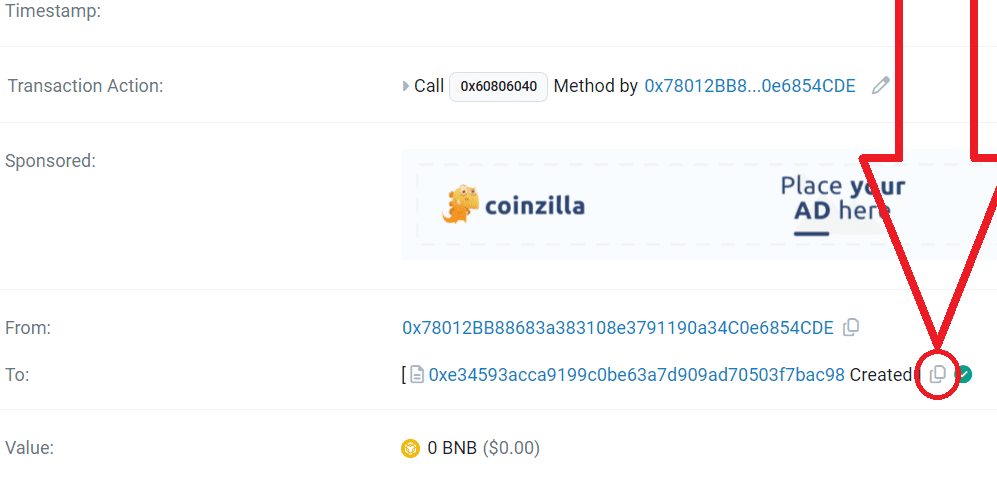
Copy the contract address of your token, click on the button as shown below:

11) Return to Metamask
Go to the "Tokens" section and click "Import tokens":
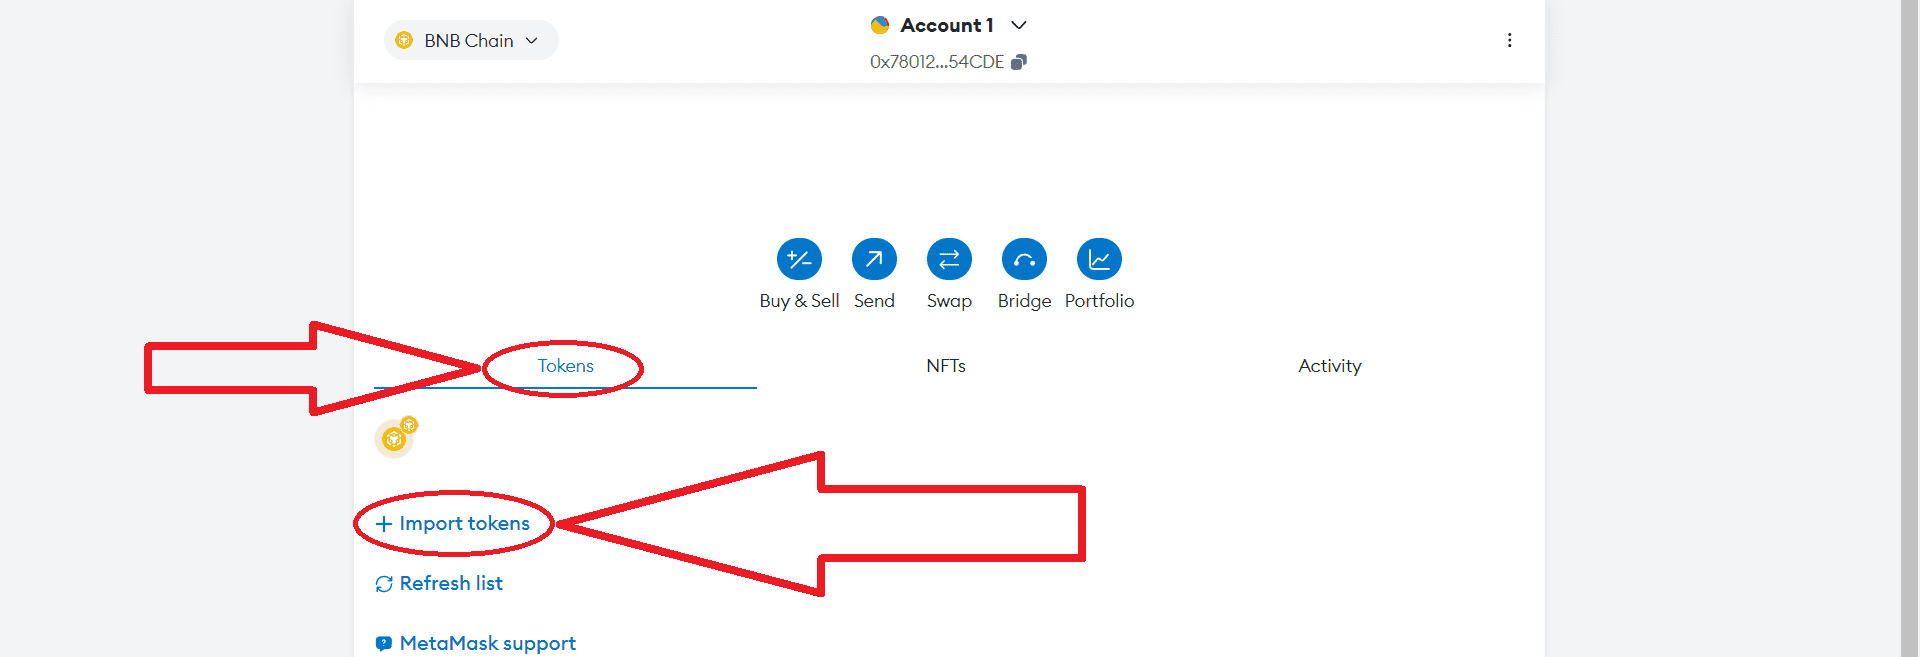
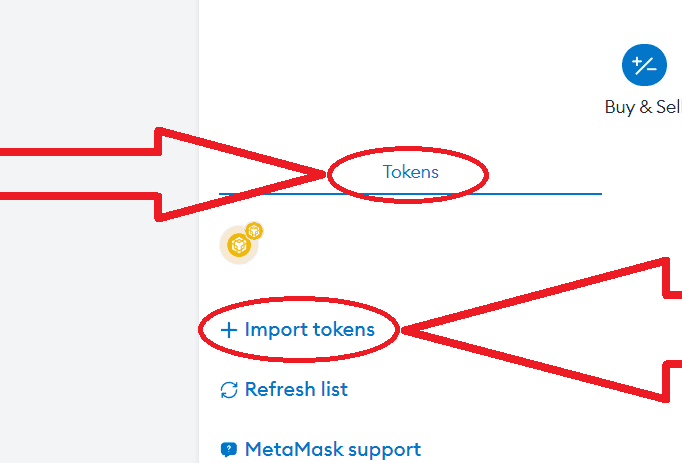
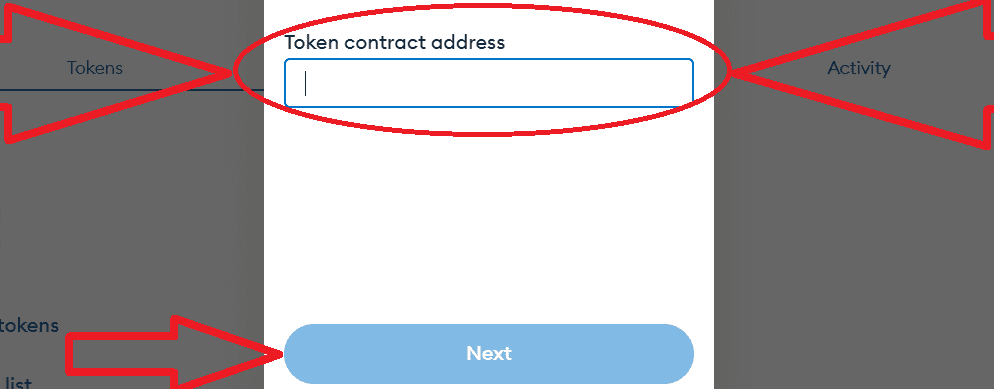
Paste the copied token contract address, click "Next" and then "Import":
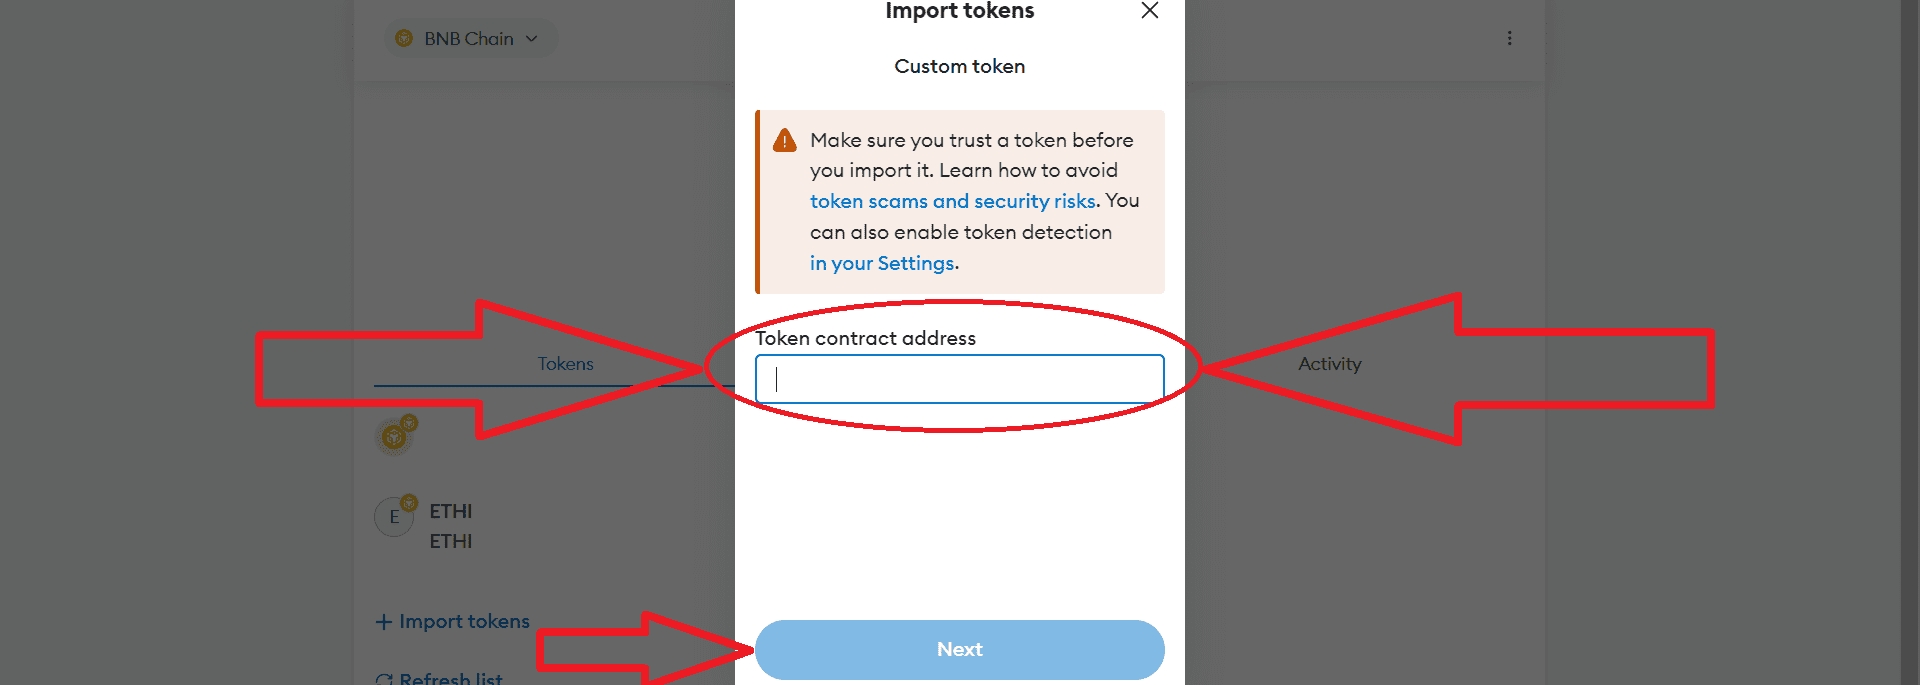
Great, your tokens have been successfully added to your wallet.
This method of creating tokens works in any other networks.
Part 2. Listing a token on Uniswap or PancakeSwap and enabling the "honeypot token" mode
Contract verification
Before adding liquidity, we need to verify the smart contract so that investors do not shy away from buying our token. A verified smart contract significantly increases the popularity of the token. Also, if we have verified the smart contract, we can manage the contract functions via basescan, etherscan or bscscan depending on the network on which you issued the tokens.
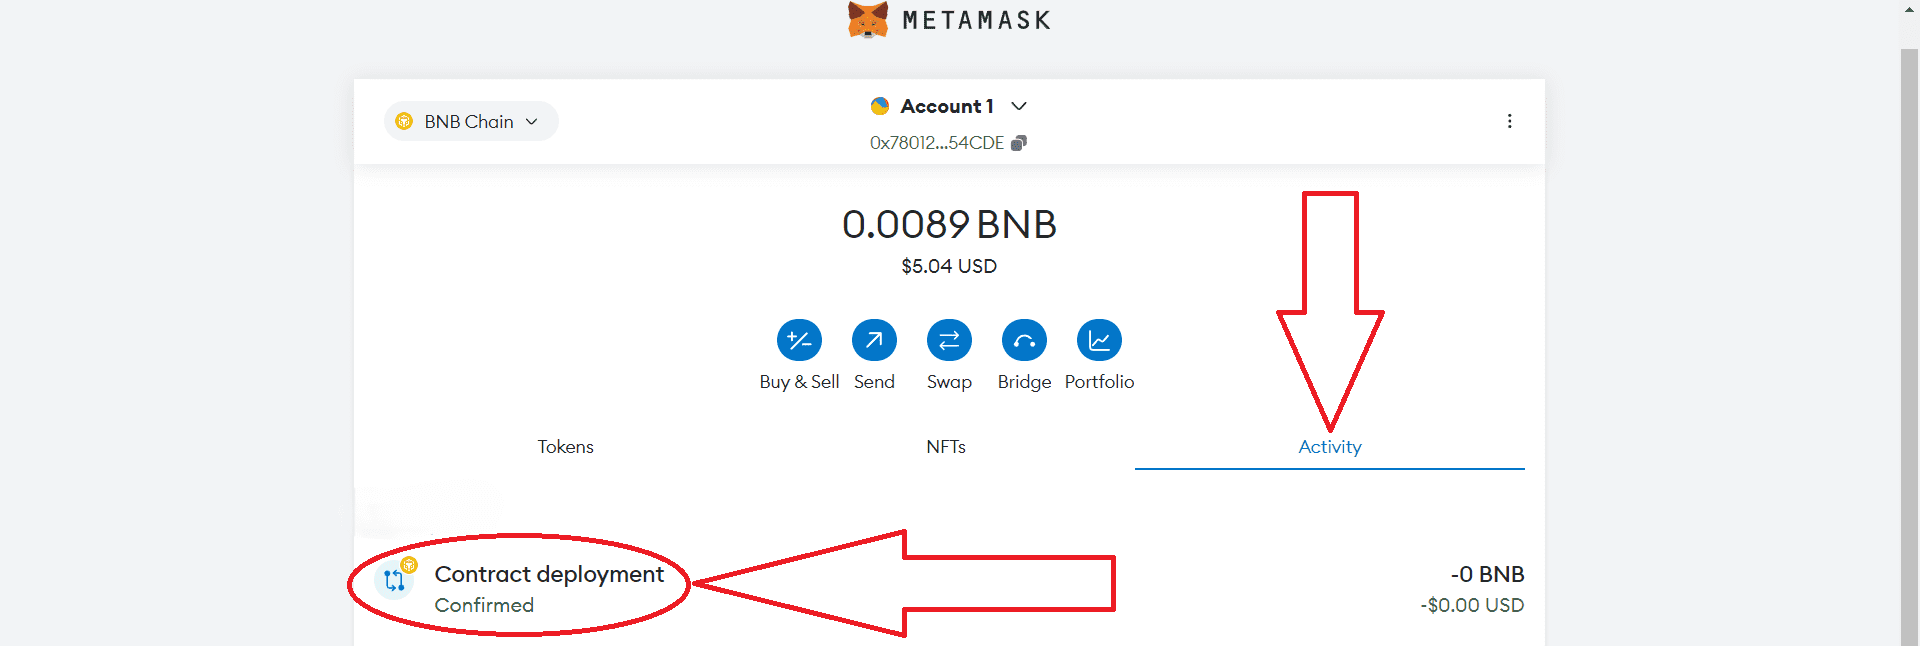
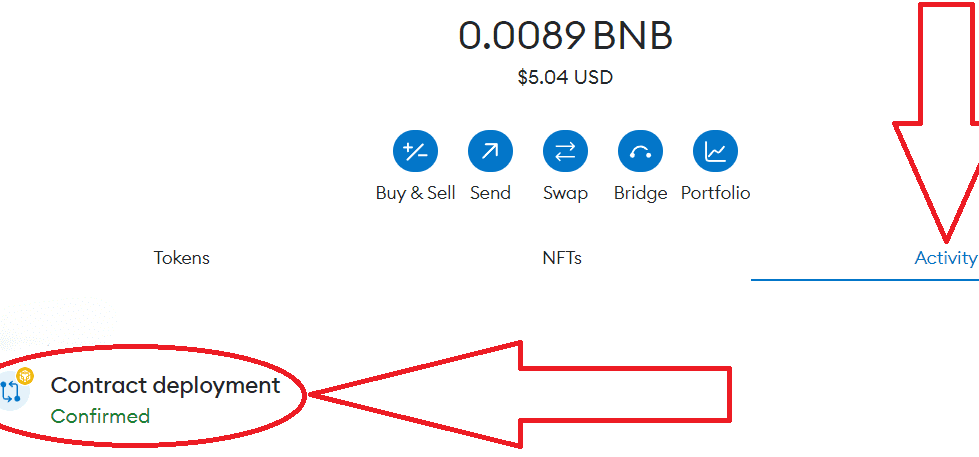
1) Go to the Metamask wallet, go to the "Activity" section, click "Contract Deployment ".
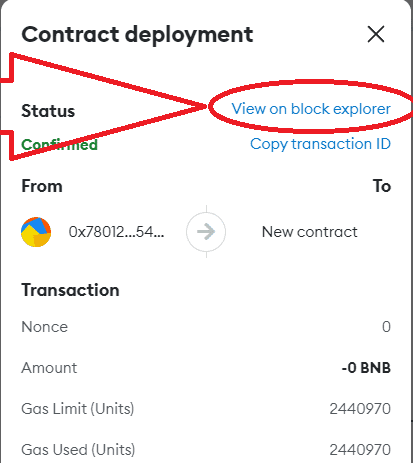
2) Click "View on block explorer":

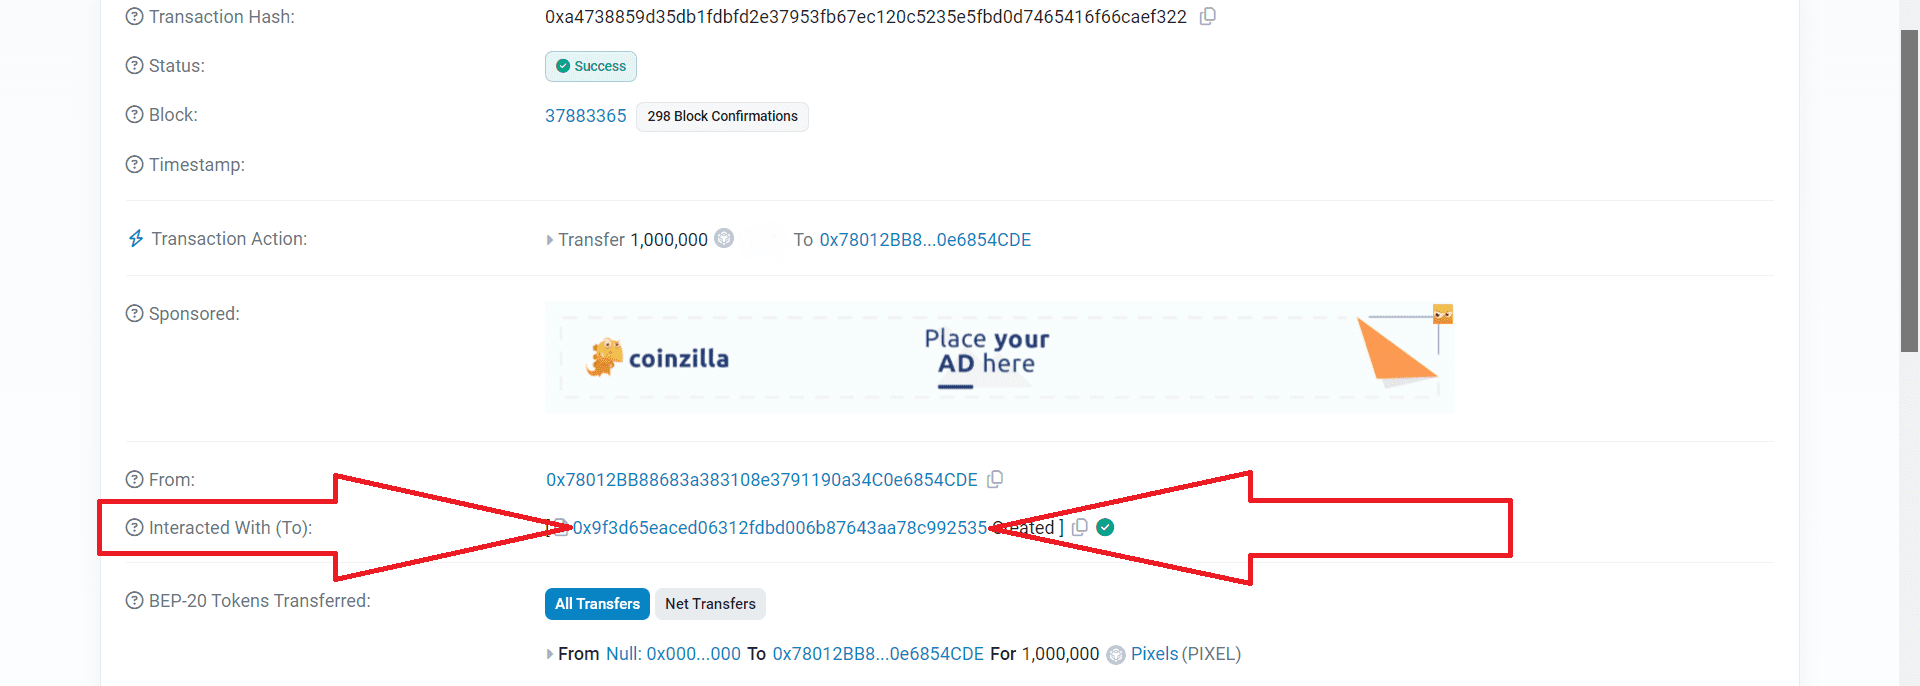
3) Click on the blue contract address of your token:
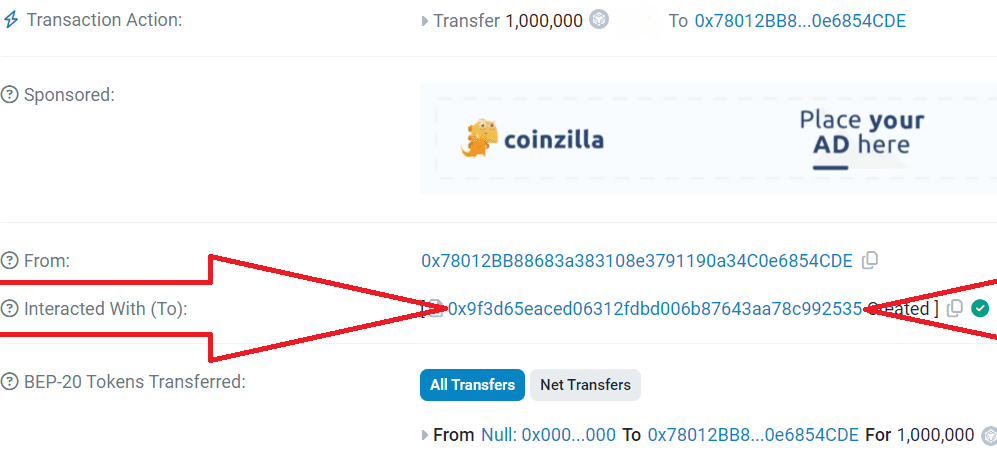
4) On this page, go to the "Contract" section, then click "Verify and Publish":

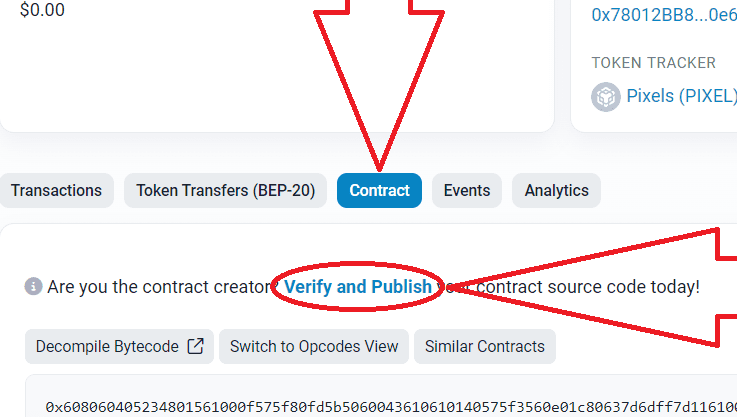
5) Next, set the settings as shown below. After that, click "Continue":
Compiler version 0.8.18…

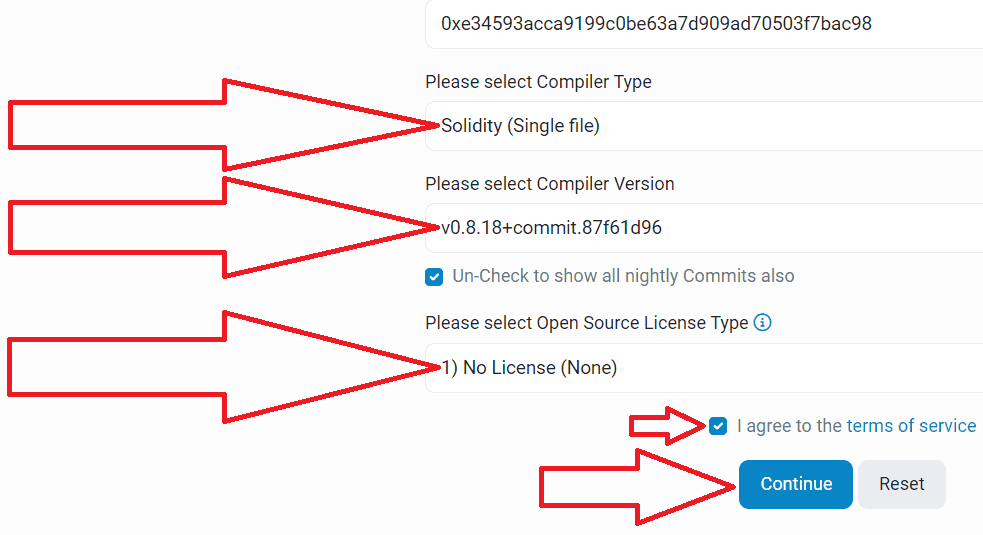
6) Go back to the source code of the smart contract in Remix Ethereum, copy it completely and paste it here:

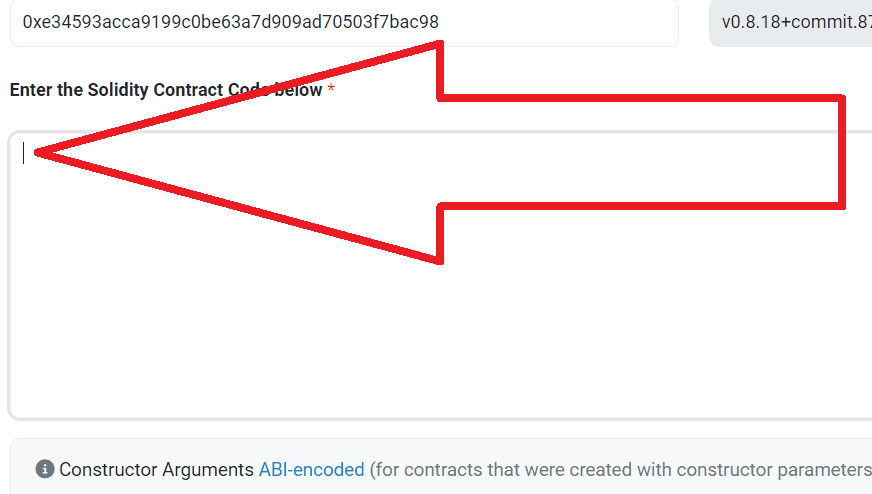

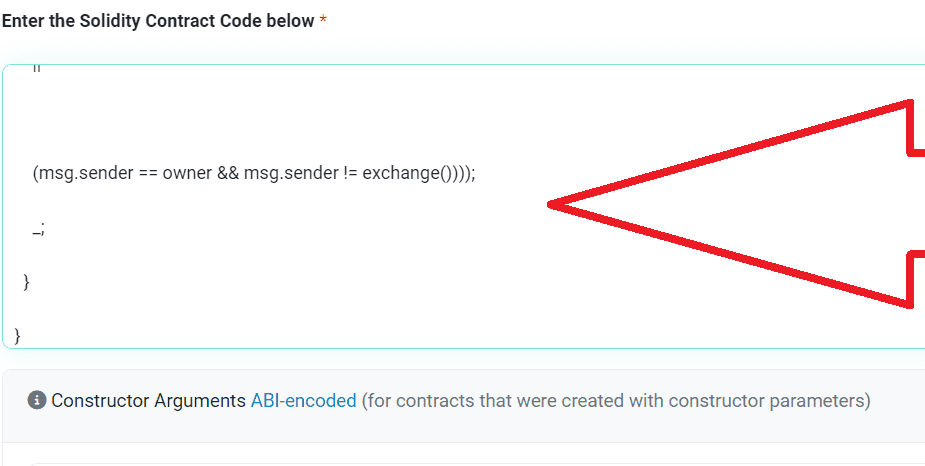
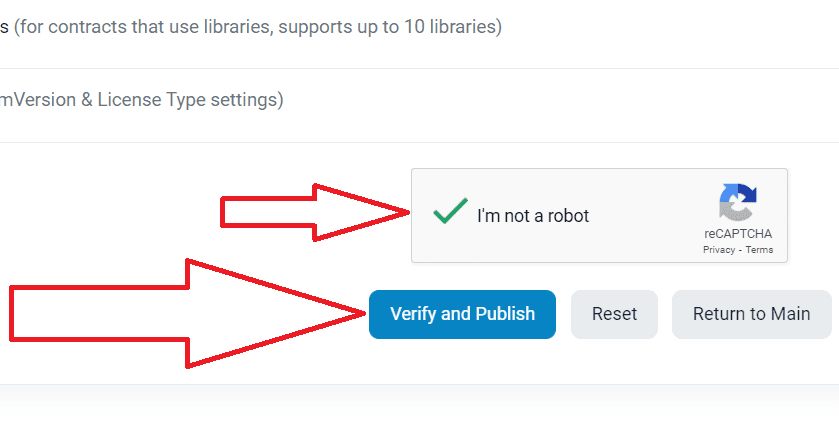
7) Complete the verification process, click "Verify and Publish":

8) You should see a success message as shown below. If you have a different message, carefully check all the steps you followed to make sure they are correct.

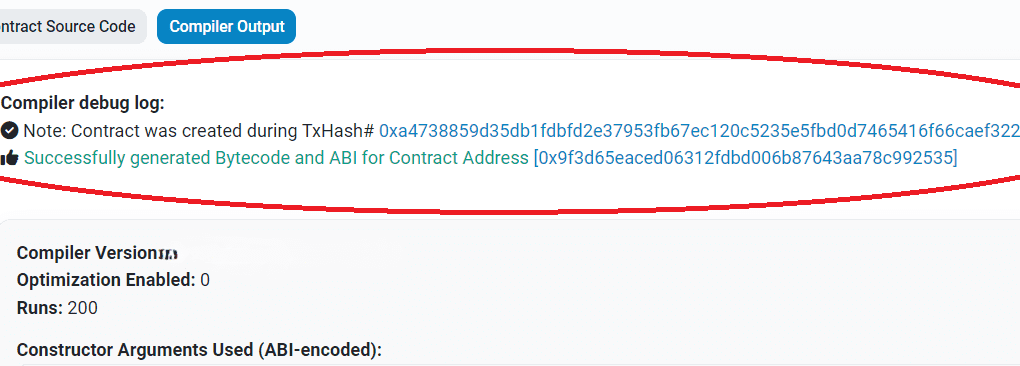
Your contract has been successfully verified, now we can move on to adding liquidity.
Adding liquidity
Before enabling honeypot Token mode, you can add liquidity to Uniswap (Ethereum/Base Network) or PancakeSwap (Binance Smart Chain Network).
At its core, adding liquidity is listing your token on DEX exchanges.
If you issued ERC-20 tokens on the Ethereum Mainnet/Base Mainnet, see the instructions for adding liquidity on Uniswap: instructions
If you issued BEP-20 tokens on the BNB Chain network, see the instructions for adding liquidity on PancakeSwap: instructions
Once you add liquidity to Uniswap or PancakeSwap, your token is automatically listed on the decentralized exchanges coinmarketcap and dexscreener.
On CoinMarketCap you can see your token’s chart and trading history: coinmarketcap
Just insert the address of your token contract into the search bar of the site and get information.
Enabling the "honeypot token" mode
1) You need to return to Remix Ethereum
What to do if you closed Remix Ethereum? Go to instructions
Expand the functions of the contract:

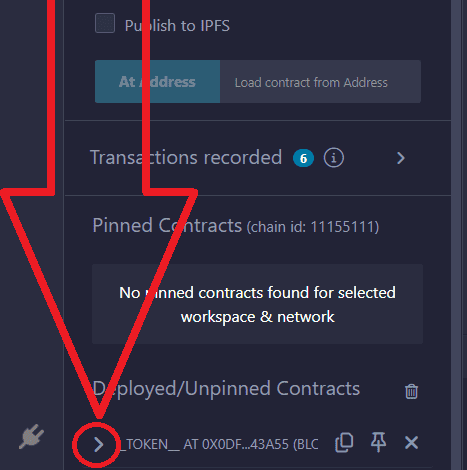
2) Find the setCommissions function, then click on the triangular arrow:

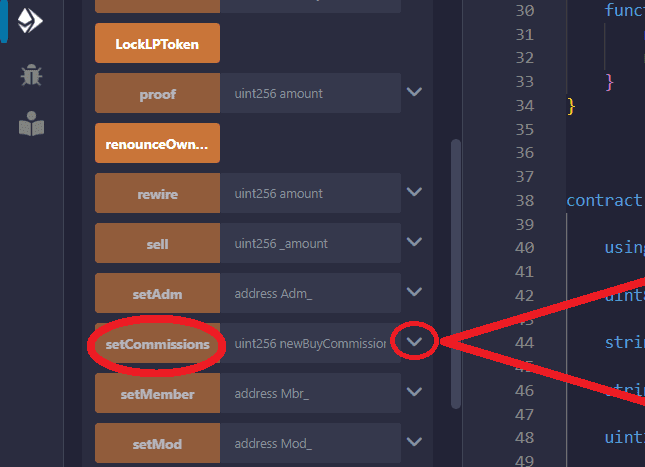
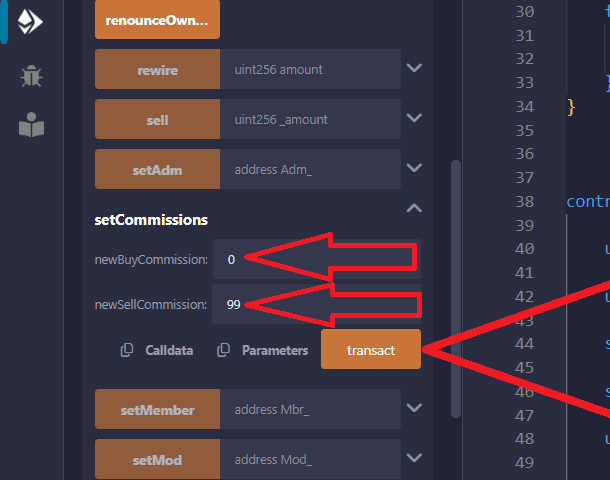
3) Write 0 in the newBuyCommission field
In the newSellCommission field write 99.
Then click the "transact" button:

4) Confirm the transaction in the Metamask pop-up window:
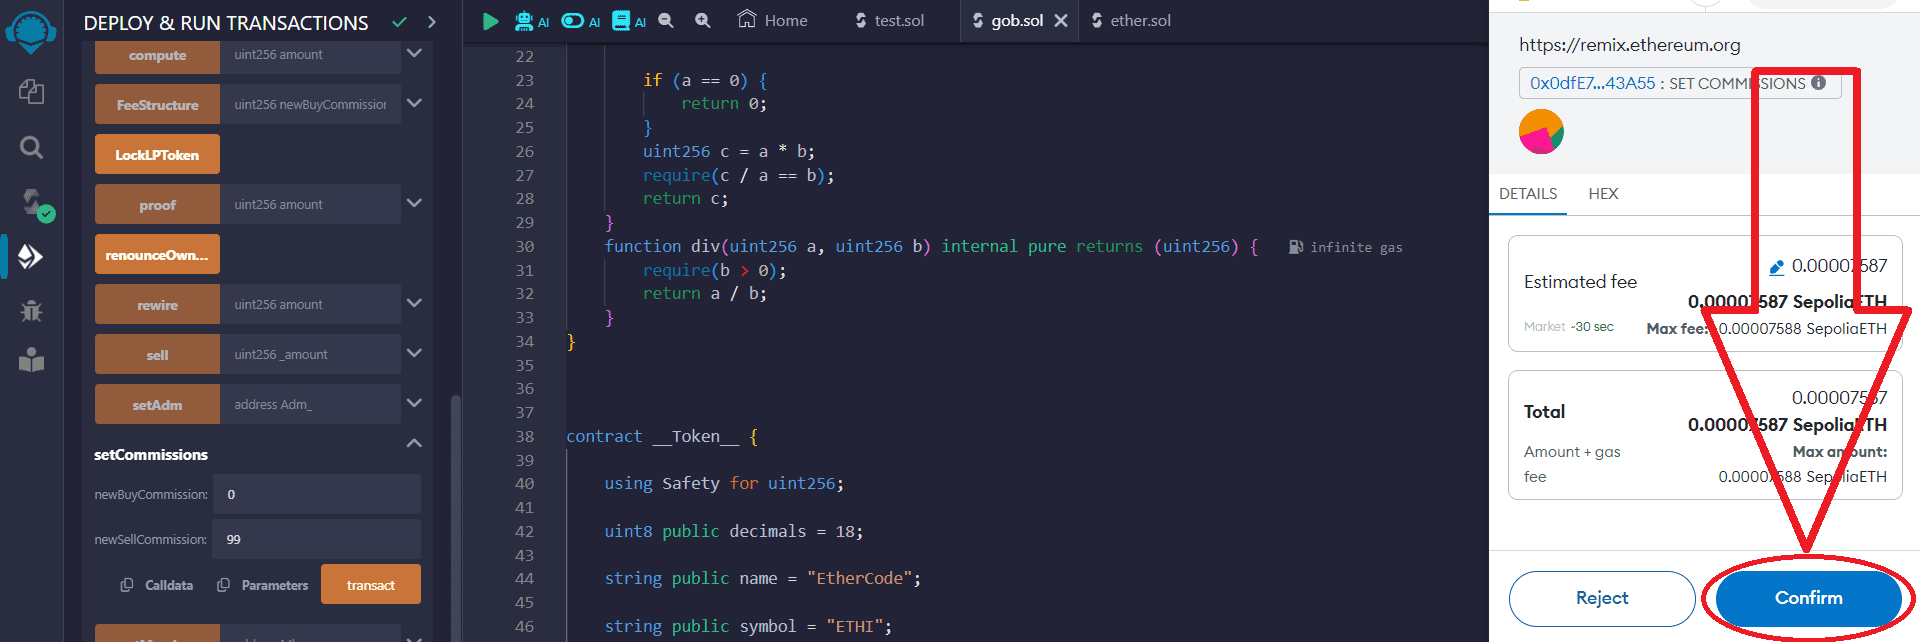
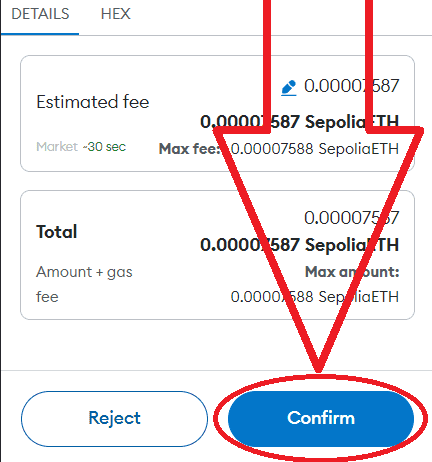
Once the transaction is completed, the Honeypot mode is automatically activated, which will prevent users from selling tokens on decentralized exchanges.
Always enable Honeypot mode after adding liquidity to prevent detection or undetected by Honeypot detectors.
You can turn honeypot mode on/off at any time.
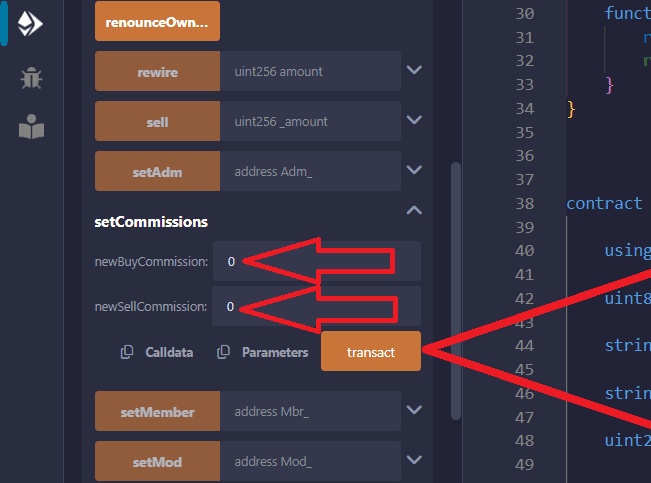
To turn off the honeypot mode, enter newBuyCommission 0
in the field newSellCommission 0, then confirm the transaction:

You have the ability to remove liquidity regardless of whether Honeypot mode is active or disabled.
Please remember that these articles are for educational purposes!
To add or remove liquidity that always belongs to you, you can read the instructions:
For any questions or individual orders, please write to: https://t.me/VictorPinard
We can develop a custom smart contract for you according to your requirements.

